The Network Administration Program
The HLS Network Administration Program is a stand alone application that is installed in the same directory as your HLS application. A fresh copy of the program is placed there each time you update your software. The file does not appear as an application. It is posted under the file name: HLSNetAdmin.tmp and in this form can not be executed.
When you launch your HLS program, the software checks for the existence of this file and then based on the configuration of your system does one of two things with it.
First if it determines that you are not running a full networking configuration of the software, it deletes the file so that it will not clutter your hard drive.
If you are running a full networking version of the program it will rename the file HLSNetAdmin.exe and it will not be deleted.
If you are manually setting up your configuration, you can unzip the update file and then rename this application yourself.
Determining if you have the network administration program on your computer.
If you have activated full networking look at the yellow log on window when you launch your HLS application.
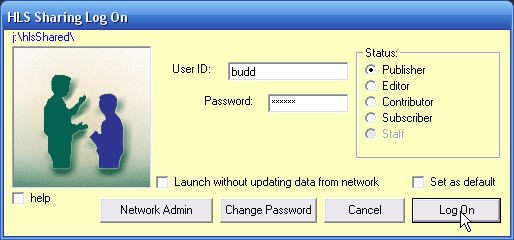
If you find the button on the lower left of the window, you have the program on your computer.
Installing the program if it isn't there.
If your yellow log on window does not have thebutton refer to the following link to update your software.
After your software has been updated, launch HLS again. The button will still not be visible. Close the program and then re-launch it. Your button should appear now. You must be logging on as a Publisher for this to work.
Launching the Network Administration Program
When you click thebutton the application will open with the following green screen.
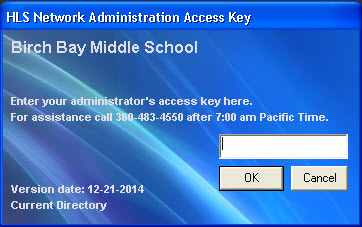
You will be asked to enter an access key. If you do not know your key you can call us at the number indicated on the window or at 360-483-4885 and obtain your key.
Setting up a user
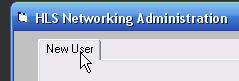 To set up a user, launch the Network Admin program and then click the New User tab at the top of the window.
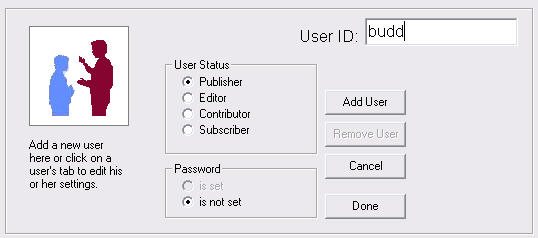
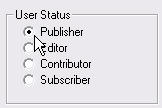 Select the status you want to assign this user and then enter the person's name as the User ID. The User ID is not case sensitive, so you do not have to worry about capital letters. The user will set up her own password when she logs on the first time. Click the
 button when you have made your entry. Repeat this until you have added all the users you want.
Our Full Networking page explains the status choices you set here.
Click the button when you are finished. You will be prompted to save your work.
Now re-launch your HLS program and log on.